
The DPI Myth: Why 300 DPI Doesn't Automatically Make an Image Better
300 DPI is not a quality guarantee. It is a calculation. Real image quality depends on the original pixels, the final print size, and how close the viewer stands to the image.
By Cloudy Convert
Practical guides from the Cloudy Convert team on files, formats, privacy, and digital workflows.
The number is not the detail
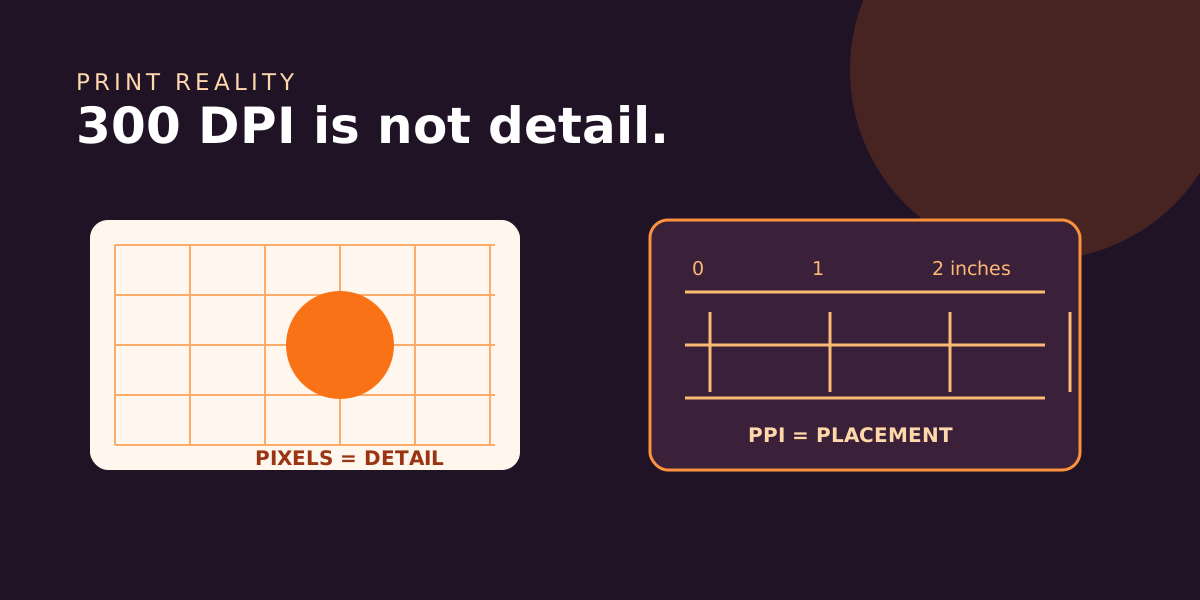
An image can contain 1,200 by 800 pixels. Those pixels are its visual evidence: edges, texture, lettering, and color transitions. Writing “300 DPI” into the file does not add another pixel or recover a soft focus.
The setting becomes useful when software needs to map those pixels to a physical size. At 300 pixels per inch, a 1,200 by 800 image is laid out at 4 by 2.67 inches. At 150 pixels per inch, the same pixels occupy 8 by 5.33 inches.
Three terms that get mixed together
Pixels
The actual grid of visual information captured or created in the image file.
PPI
The pixel density used when an image is placed at a physical print size.
DPI
The physical dots a printer lays down. It is a printer capability, not extra image detail.
The print-size calculation that matters
For a target print density, use a simple relationship: pixels needed = print inches × target PPI. An 8 by 10 inch print at 300 PPI therefore needs 2,400 by 3,000 pixels.
Enough pixels
A 3,000 by 2,400 image can support an 8 by 10 inch layout at 300 PPI without enlargement.
Not enough pixels
A 900 by 600 image can be labeled 300 DPI, but it only contains enough pixels for a 3 by 2 inch layout at that density.
This is why the first question should be “How large will it be viewed?” rather than “What number should I type into the DPI box?”
When 300 PPI makes sense, and when it does not
A detailed photograph viewed close up benefits from a high pixel density. A poster, billboard, or exhibition graphic is judged from farther away, so its effective resolution can often be lower. The print process and the printer also influence the result.
Close-viewed photo: prioritize sufficient pixels and a careful export around a high PPI target.
Large-format graphic: prioritize the physical viewing distance, legibility, and the printer’s specifications.
Screen-only image: prioritize CSS display size, pixel dimensions, format, and file weight. DPI metadata usually has no visible effect.
The upscaling trap
Resampling can create a larger pixel grid, but it must estimate the pixels between the originals. Modern upscalers can produce a more convincing result, yet they cannot guarantee the fine detail of an image captured at the needed resolution.
Do not confuse a larger file with a sharper image
A 600 by 400 image enlarged to 2,400 by 1,600 contains more pixels after resampling, but the original scene did not contain four times the captured detail.
If the source is too small, the honest options are to print it smaller, accept a lower effective resolution, or use an upscaler while checking the result carefully at the intended viewing distance.
A better export checklist
Write down the finished width and height before exporting.
Compare the source pixels with the target size and viewing distance.
Use an appropriate lossless or lossy format for the print workflow.
Look for soft edges, halos, banding, and unwanted sharpening before delivery.
Need to change dimensions or compare formats? Use Cloudy Convert's image converter to prepare an export, then inspect the result at its real intended size.